CloudFlare in WordPress, How to Setup

Key Points at a Glance
- CDN Definition: A CDN (Content Delivery Network) comprises servers distributed across various locations, delivering web content from the nearest server to users for faster page loading.
- Benefits of CloudFlare: CloudFlare enhances website performance by delivering content closer to users, improving scalability, reliability, and bandwidth optimization. Additionally, it offers security features like DDoS protection and encryption.
- Setting up CloudFlare: Sign up for a CloudFlare account, add your website, review and update DNS records, select a plan, update nameservers, and configure settings like SSL, caching, and page rules.
- CloudFlare Integration with WordPress: Install the CloudFlare plugin, connect it to your CloudFlare account by entering your email and API key, configure plugin settings, clear cache, and test your website to ensure proper functionality.
- CloudFlare Plans: CloudFlare offers a free CDN plan for static files and a paid APO (Automatic Platform Optimization) plan for WordPress, enhancing performance and user experience.
- Plugin Installation Note: While using the CloudFlare Free Plan, you can skip installing the plugin, but it's necessary for paid plans to utilize CloudFlare's features effectively.
- Testing Results: After connecting your site to CloudFlare, visit a page speed testing tool to observe improvements in metrics like First Contentful Paint (FCP) and other speed indicators.
Table of Contents
A short guide for connecting CloudFlare in WordPress. Learn how to setup CloudFlare, what a CDN is and where to see the speed results.
What is a CDN?
A CDN is a network of servers spread across different locations, delivering web content to users from the closest server, resulting in faster page load times and improved user experience.
Benefits of using CloudFlare in WordPress
Using a CDN offers several benefits. Firstly, it improves website performance by delivering content from servers closer to users, reducing latency and enhancing page load times. Secondly, it enhances scalability and can handle high traffic loads efficiently. Thirdly, it provides better reliability with failover capabilities and load balancing. Fourthly, it optimizes bandwidth usage by serving cached content directly to users. Additionally, CDNs offer enhanced security features like DDoS protection and encryption. Overall, CDNs optimize website performance, improve user experience, ensure availability, and provide additional security layers.
Create an account on CloudFlare
- Sign up for a CloudFlare account: Go to the CloudFlare website (cloudflare.com) and sign up for a free account if you don't have one already.
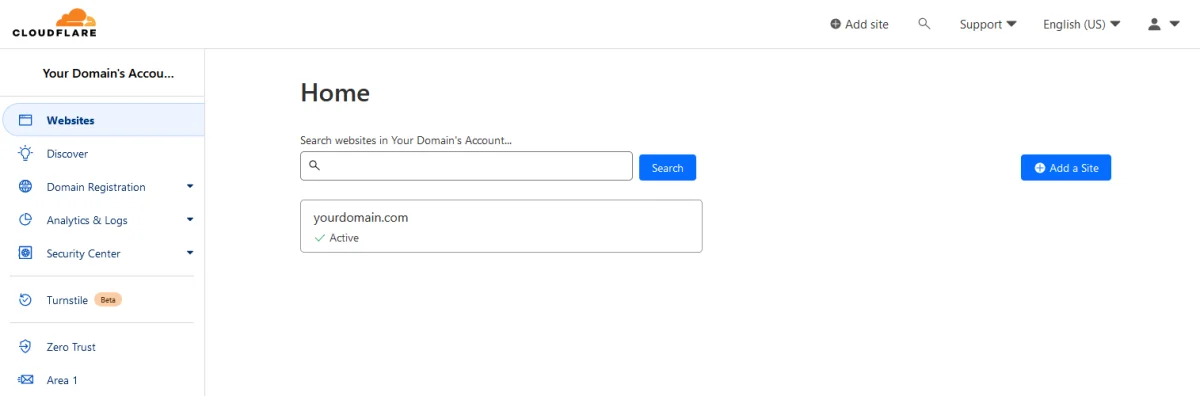
- Add your website to CloudFlare: After signing up, add your WordPress website to CloudFlare by clicking on the "Add a Site" button and entering your website's domain name. CloudFlare will scan your DNS records and import them automatically.
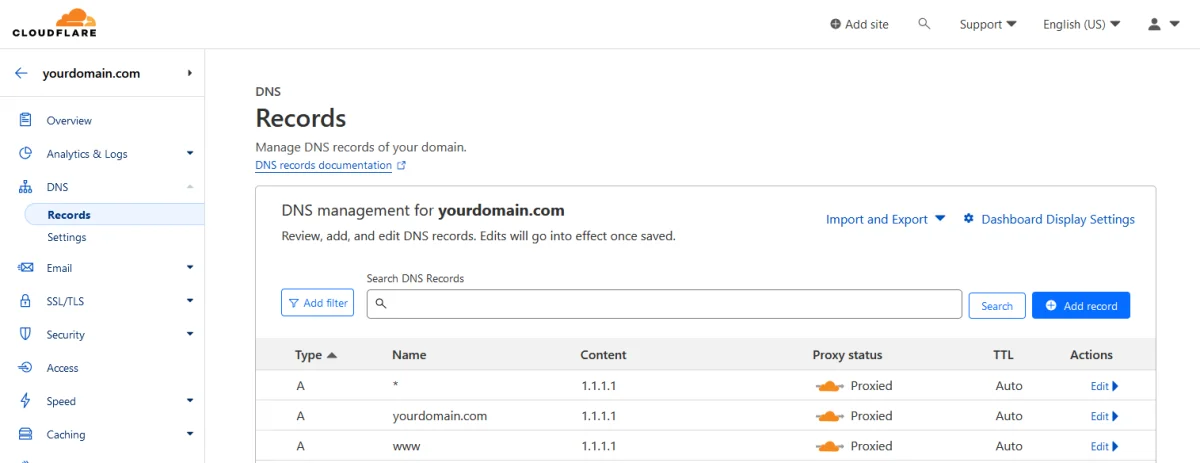
- Review and update DNS records: CloudFlare will show you a list of your DNS records. Ensure that all essential records are imported correctly, such as your domain's A, CNAME, and MX records. Verify that the records match your original DNS configuration.
- Select a CloudFlare plan: CloudFlare offers different plans, including a free plan with basic features. Choose the plan that suits your needs and budget. You can always upgrade later if necessary.
- Update nameservers: After selecting a plan, CloudFlare will provide you with two nameservers. Change your domain's nameservers to the ones provided by CloudFlare. You can typically do this in your domain registrar's settings.
- Configure CloudFlare settings: Once the nameservers are updated, go back to the CloudFlare dashboard and configure the desired settings. Some recommended settings for WordPress include:
- SSL: Enable "Full" SSL encryption to secure your website.
- Caching: Enable "Caching Level" to determine how CloudFlare caches your content. You can start with the "Standard" option.
- Automatic HTTPS Rewrites: Enable this option to ensure that all HTTP links on your website are automatically rewritten to HTTPS.
- Page Rules: Set up specific rules to customize the behavior of CloudFlare for different pages or URLs.
Connecting CloudFlare in WordPress
It's worth noting, that you can skip the installation of the plugin, if you're using the CloudFlare Free Plan.
- Install the CloudFlare plugin for WordPress: To integrate CloudFlare with WordPress, install the official CloudFlare plugin. Go to your WordPress admin dashboard, navigate to "Plugins," click on "Add New," and search for "CloudFlare." Install and activate the plugin.
- Connect the CloudFlare plugin with your CloudFlare account: After activating the plugin, go to "Settings" and click on "CloudFlare." Enter your CloudFlare email address and API key (which you can find in your CloudFlare account settings) to connect the plugin with your CloudFlare account.
- Configure the plugin settings: Once connected, the CloudFlare plugin will provide various configuration options. Review the settings and choose the desired options for your website.
- Clear cache and test your website: After completing the setup, clear any caching plugins or mechanisms you have in WordPress, and purge the cache in CloudFlare. This ensures that your visitors will see the updated content. Test your website thoroughly to ensure everything is working correctly.
With these steps, you can successfully set up CloudFlare CDN with your WordPress website, which will help improve its performance, security, and overall user experience.
In summary; CloudFlare CDN (Free): is for static files (like images, CSS and JS), CloudFlare APO (paid, 5$/domain) for WordPress. It's with the Paid plans where you'd require to have the plugin installed.
Now let’s see some results.

Testing the difference
Visit page speed and see how your FCP and Other speed metrics have improved.
If you haven’t seen the speed improvement you expected, perhaps try some of our other pro tips for speed optimization.
Thank you for reading! to our monthly newsletter to stay updated on the latest WordPress news and useful tips.

Stuck with development or facing an issue?
WPLake offers affordable on-demand website development and design.
No matter the size of your project - contact us now, and we'll get it done for you!
Frequently Asked Questions Test Your Knowledge
FAQ mode
/
Learning mode
- What benefits does CloudFlare offer for WordPress websites?
CloudFlare enhances website performance by delivering content closer to users, improving scalability, reliability, and security. It also optimizes bandwidth usage and provides additional features like DDoS protection and encryption.
- What steps are involved in connecting CloudFlare with WordPress?
To connect CloudFlare with WordPress, you need to install the CloudFlare plugin, connect it to your CloudFlare account using your email and API key, configure plugin settings, clear cache, and test your website for functionality.
- Is the CloudFlare plugin necessary for integrating CloudFlare with WordPress?
While the CloudFlare plugin is recommended for easier integration and configuration, it's not mandatory, especially for users on the CloudFlare Free Plan. However, the plugin is essential for utilizing advanced features available in paid plans.
- How can I test the performance improvements after connecting my site to CloudFlare?
You can use various online page speed testing tools to measure metrics like First Contentful Paint (FCP) and other speed indicators before and after connecting your site to CloudFlare. This allows you to assess the impact on performance.
Course navigation: WordPress Beginner

Lesson #2
Time to read: 5 mins
Updated 19 Apr, 2024

Lesson #4
Time to read: 25 mins
Updated 25 Sep, 2024
Content links (4)
About the Author